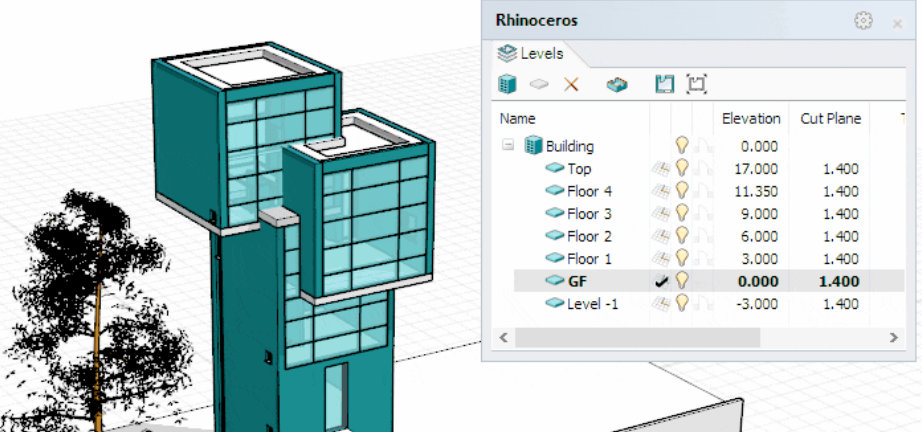
The VisualARQ Level Manager is one of the most useful tools that VisualARQ adds to Rhino. The Level Manager lets you navigate through levels easily, show and hide them, display the model in 3D or plan view, and enhance the 3D/2D modelling experience.
Save an additional 5% on VisualARQ >
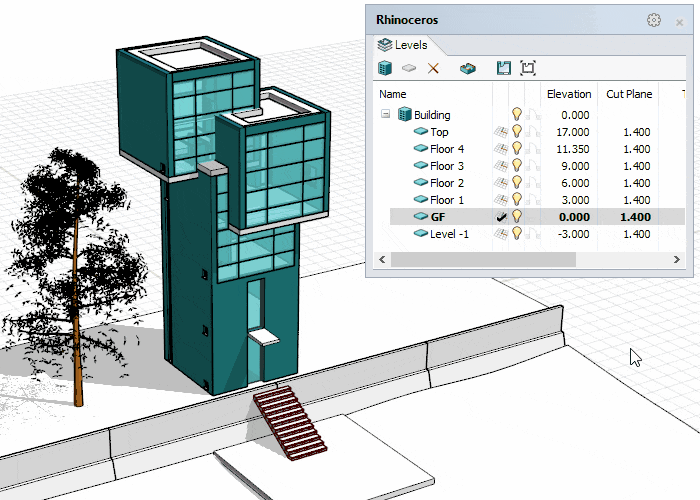
- Double-click: this action on a level sets the construction plane on that level, and hides the upper levels automatically.
- Set plan view to viewport: this action sets the plan view in your viewport or in a Layout Detail, ready to be printed.
- Building on/off icon: turning the On/Off icon next to the Building into On will automatically show all Levels in that building and will disable the Cut Plane.
- Plan view reference: this icon next to each level displays the plan view representation of different levels projected on the current level.
- Top offset: defines the value by which a level’s upper limit is increased or decreased when hiding entire levels. This is especially useful when you hide the upper part of a building and want to hide also the upper slab of the last shown level, in order to see the interior of it.
- Set the level’s elevation by measuring it in place: when clicking on a level’s elevation, a rule icon appears. Click on it to measure the level’s elevation directly in the model.
- Create multiple levels at once. This option is available with a Grasshopper definition. You can download it here.
- Turn off the reference marks. In elevation views, you can see the level reference marks indicating each level’s elevation. These marks can be turned off from the Rhino Options > VisualARQ > Display.
VisualARQ is available now at CAD Software Direct.