This is an abridged version of the original post found over on the DraftSight Blog.
All versions of DraftSight (Professional, Premium, Mechanical, Enterprise, and Enterprise Plus) offer a full suite of tools to let you dimension your drawings and comply with defined standards, to help accurately convey construction or manufacturing instructions to those performing the task
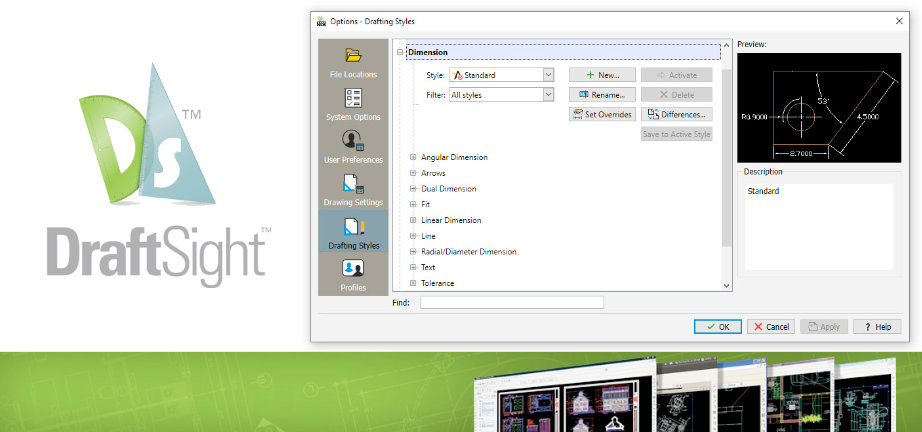
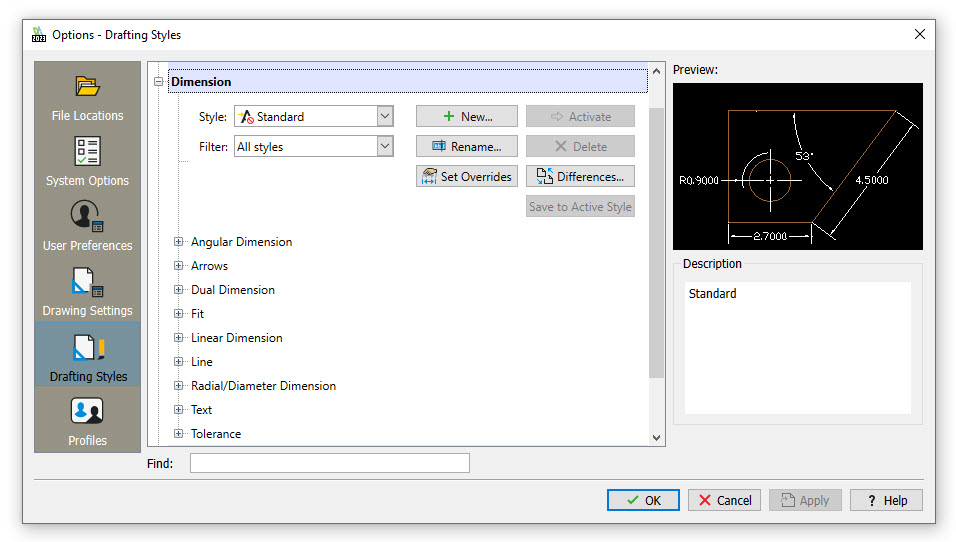
Dimension Styles
All dimension settings are stored in a name style. Styles can be defined for various reasons, such as disciplines, scales, clients, etc., and all these settings can be found in the Drafting Styles section of the Options dialog.
Architects can use slashes instead of arrows, with a handwritten text font above the dimension line, and engineers can use closed arrows with plain text within the dimension line. Just switch to the style you want, and you’re good to go.
Dimensioning Options
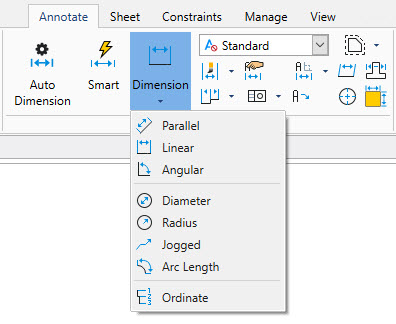
DraftSight offers three distinct ways to apply dimensions to your designs, accessed from the Dimension pulldown menu . Here you can choose the type of dimension you want to use, such as Linear, Diameter, or even Ordinate dimensions.
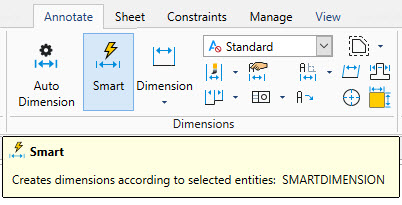
Next to the pulldown in the ribbon is a relatively new way to dimension your designs, called Smart Dimension. All of your various types of dimensions are contained within the Smart Dimension tool.
When you run it, select the entities to dimension, and Smart Dimension will give you the proper type. For instance, if you select a line, you’ll get a Linear dimension. If you select two lines that are at different angles, you’ll get an Angular dimension. Pick a circle, and you’ll get a Radius dimension.
The next way to apply your dimensions is unique to DraftSight. It’s called Auto Dimension, which can be found just to the left of Smart Dimension in the ribbon.
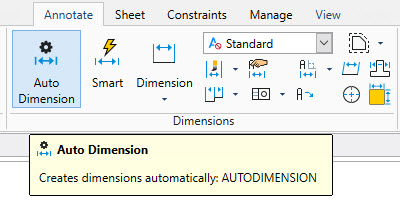
Dimensioning can be a tedious task. DraftSight’s Auto Dimension tool does it for you, requiring minimal manual interaction.
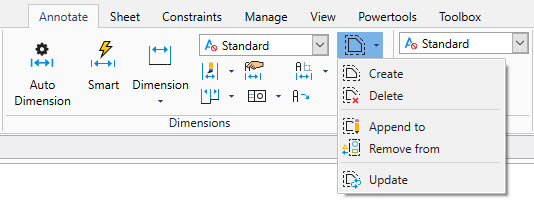
Firstly, define a bounding box for the entities you want to dimension. Access your bounding box tools right from the pulldown in the ribbon. You can create, delete, add or remove, or even update the boundaries there.
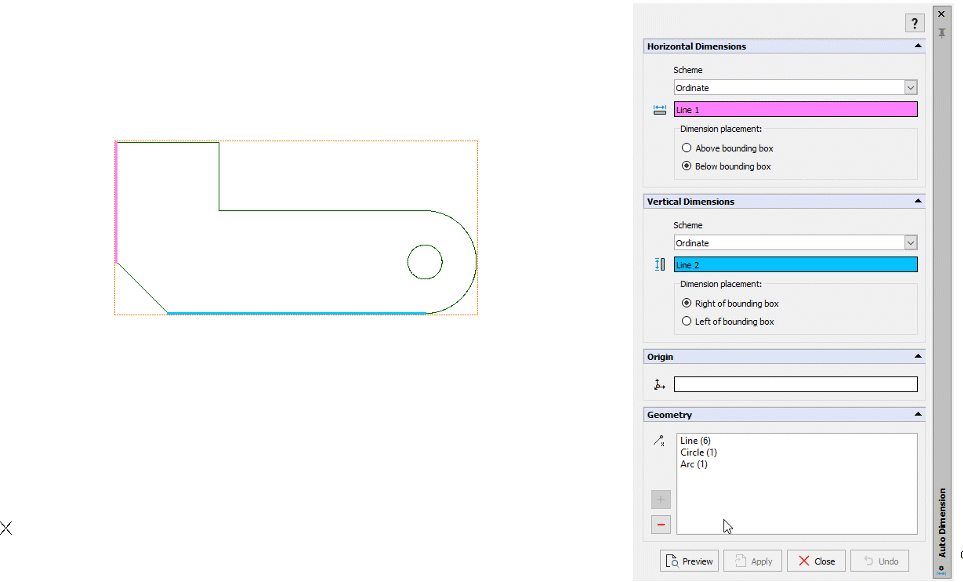
Once your bounding box is created, access the Auto Dimension tool. You can specify whether Horizontal and Vertical Dimensions will be Baseline, Continuous, or Ordinate dimensions. You’ll also need to decide if you want the Horizontal dims to be placed above or below the bounding box, and whether the Vertical dims are to the right or left.
DraftSight is available now at CAD Software Direct .com