
Chaos has changed how Enscape interacts with V-Ray and other Chaos products.
For years, it had been difficult to get renders out of Enscape and passed over to the visualisation teams, who often had to rebuild from scratch.
But no more!
Chaos has created a link between Enscape and V-Ray, which helps architects and visualisation specialists collaborate on the same files. This includes a new Chaos file format and some menu changes.
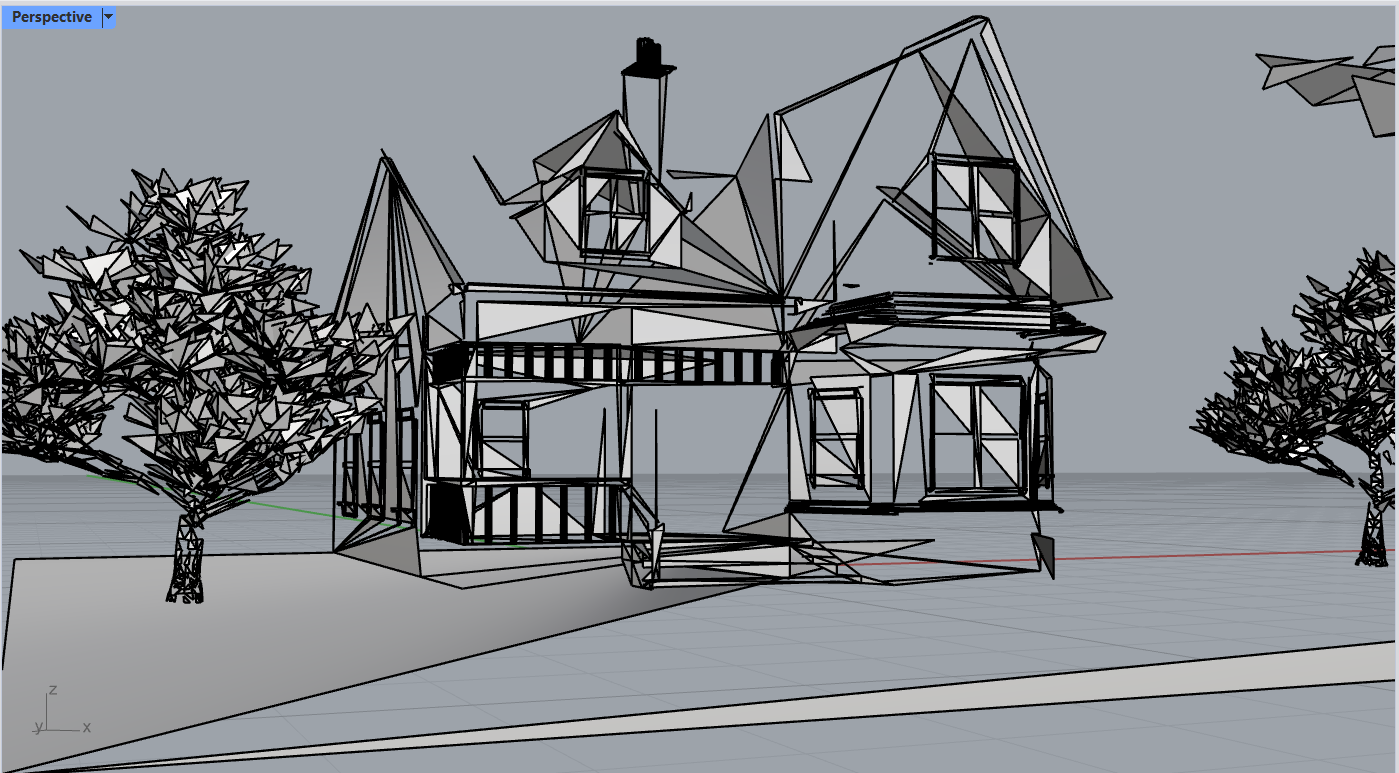
This new workflow aims to streamline the connection between real-time rendering and resting photorealistic finishes that are ready to dazzle the client. The connected workflow ensures that architects and designers can access all design data, intent, and decisions embedded in the original Enscape file. The file can then be sent to the artists and visualisation teams, who can work efficiently without starting from scratch.
The New File Format
Chaos has introduced a .vrscene file format, which works across the Chaos ecosystem but is specifically designed to help with the handoff between Enscape and V-ray.
.vrscene files act as the container for transferring render-ready scene data. It contains:
- Geometry
- Assets
- Lights
- Materials
- Render settings
- Cameras
The .vrscene format enables easy transfer of design projects between CAD tools such as SketchUp, Rhino, Revit, and DCC software, including 3ds Max and Cinema 4D. So handing off sketches to visualisation teams is much simpler.
The Workflow
To make things even easier, Chaos has introduced some menu changes to help with the handoff between software on one computer.
To use the new connected workflow settings:
- Open up the software with Enscape installed and start Enscape.
- In the top menu, click the button named ‘V-Ray Scene Export (Beta)’
(Note: If this is greyed out, you will need to create a view, which can be done in the View management settings.)
- Select the view you wish to export
- Click export
- Click save.
To open your scene:
- Head to a software that has V-Ray available
- Go to Import
- Select the created file (.vrscene).
- From here, everything should be converted and usable.
This workflow is currently in beta, meaning it’s not quite polished yet, and bugs are to be expected. We have spotted a bug with Rhino where the following menu path caused file corruptions, which you can see below.
- Rhino > V-Ray > Objects > Import Proxy or VRScene
However, we found a workaround using the following menu path. This worked as expected.
- Rhino > File > Import
Conclusion
By leveraging the .vrscene file format and the seamless handoff process, you can save valuable time and maintain the integrity of your designs. Have you tried the new feature yet? Let us know what you think on our Facebook or LinkedIn pages!
Not got V-Ray? You can buy V-Ray here.
Not using Enscape? You can buy Enscape here.
Limited Time Offers
Get 10% off V-Ray & 30 exclusive assets worth £170!
OR buy an annual V-Ray Premium or V-Ray Enterprise subscription with 10% off, and you’ll get 20% off an Enscape Floating licence to complete your workflow.
Offer ends 25/06/2024. This campaign does not apply to renewals or annual licences for educational products.