WEBINAR: Flexible BIM in Rhino – From Concept Models to Project Drawings with VisualARQ 3
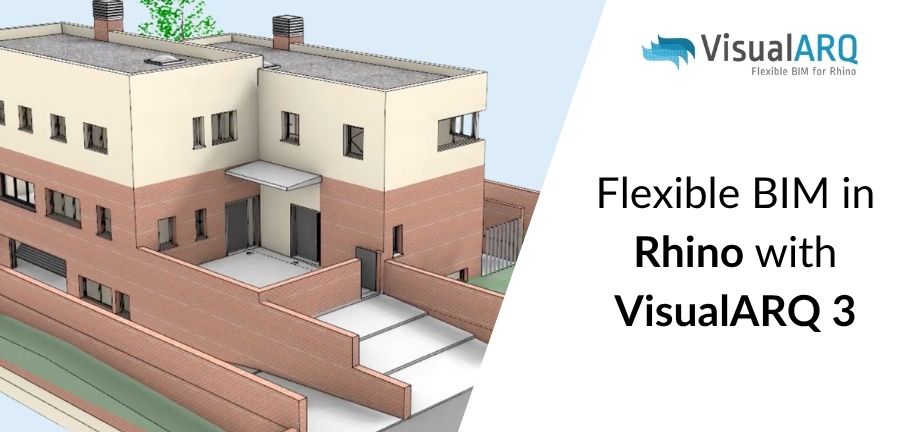
Date: 9th July 2025 Time: 4:00pm BST Join the Asuni team for a live webinar on how VisualARQ 3 adds flexible Building Information Modelling (BIM) tools to Rhino. Learn how to manage the full design process—from early sketches to final project drawings—without leaving Rhino. In this 1-hour session, you’ll see how to: Whether you’re working … Read more